
DockerEE is Docker’s official container platform to build and share any application seamlessly and with high-velocity being capable to use both Docker Swarm and Kubernetes as orchestrators. As it’s an enterprise-grade platform, it includes high automation, authorization, high availability, and security features. DockerEE includes the three solutions in the table below:
| Component | Description |
|---|---|
| DockerEE | Docker enterprise engine including Docker Swarm and Kubernetes |
| Docker UCP | Universal Control Plane: The cluster management solution |
| DTR | Docker Trusted Registry: The image storage solution |
In this post, we will learn how to install all the components of DockerEE in a single virtual host for testing purposes.
Preparation
Docker uses a wide variety of different IP address ranges for all the components it includes, so I recommend using for this virtual server an address of the class B private subnet 172.16.0.0/16. If you feel netmask 16 excessively wide you can use whatever you want. I’ll be using the hostname dockeree and the address 172.16.0.22/16 for this virtual machine. The name of the regular user on my virtual machine is centos and it’s password is P4ssW0rd...
First of all, you need to have a DockerEE license or the one-month trial license available at DockerHub.
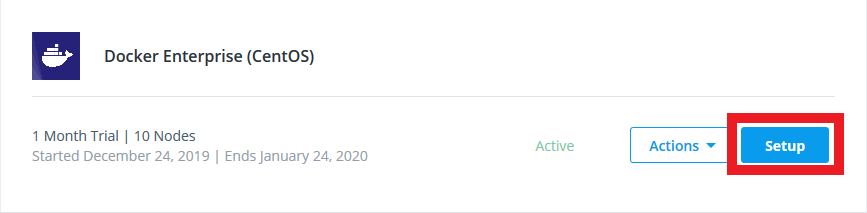
Once having your license, you will download the license key (which will be uploaded later to UCP) and copy the URL of the associated Docker Enterprise software repository. Go to https://hub.docker.com/my-content and click button Setup of your license.
In the next page, scroll down, download the license key and copy the repository URL:
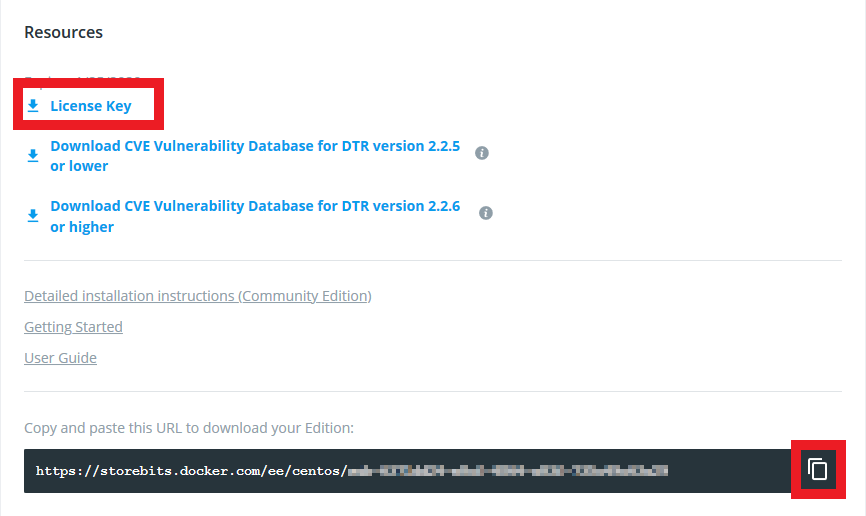
Create an environment variable called DOCKERURL with the address of the repository:
$ export DOCKERURL="https://storebits.docker.com/ee/centos/XXX-XXXXXXXX-XXXX-XXXX-XXXX-XXXXXXXXXXXX"
Update system software:
$ sudo dnf -y update
Clean previous Docker installations:
$ sudo dnf -y remove docker \
                  docker-client \
                  docker-client-latest \
                  docker-common \
                  docker-latest \
                  docker-latest-logrotate \
                  docker-logrotate \
                  docker-selinux \
                  docker-engine-selinux \
                  docker-engine
Remove previous Docker repositories:
$ sudo rm /etc/yum.repos.d/docker*.repo
Store the value of the repository URL as a yum variable:
$ sudo -E sh -c 'echo "$DOCKERURL/centos" > /etc/dnf/vars/dockerurl'
Install required dependencies:
$ sudo dnf -y install yum-utils \
    device-mapper-persistent-data \
    lvm2
Add the Docker Engine - Enterprise stable repository:
$ sudo -E yum-config-manager \
    --add-repo \
    "$DOCKERURL/centos/docker-ee.repo"
Set firewall rules:
sudo firewall-cmd --zone=public --add-port=179/tcp --permanent
sudo firewall-cmd --zone=public --add-port=443/tcp --permanent
sudo firewall-cmd --zone=public --add-port=2376/tcp --permanent
sudo firewall-cmd --zone=public --add-port=2377/tcp --permanent
sudo firewall-cmd --zone=public --add-port=4789/tcp --permanent
sudo firewall-cmd --zone=public --add-port=6443/tcp --permanent
sudo firewall-cmd --zone=public --add-port=6444/tcp --permanent
sudo firewall-cmd --zone=public --add-port=7946/tcp --permanent
sudo firewall-cmd --zone=public --add-port=7946/udp --permanent
sudo firewall-cmd --zone=public --add-port=9099/tcp --permanent
sudo firewall-cmd --zone=public --add-port=10250/tcp --permanent
sudo firewall-cmd --zone=public --add-port=12376/tcp --permanent
sudo firewall-cmd --zone=public --add-port=12378/tcp --permanent
sudo firewall-cmd --zone=public --add-port=12379/tcp --permanent
sudo firewall-cmd --zone=public --add-port=12380/tcp --permanent
sudo firewall-cmd --zone=public --add-port=12381/tcp --permanent
sudo firewall-cmd --zone=public --add-port=12382/tcp --permanent
sudo firewall-cmd --zone=public --add-port=12383/tcp --permanent
sudo firewall-cmd --zone=public --add-port=12384/tcp --permanent
sudo firewall-cmd --zone=public --add-port=12385/tcp --permanent
sudo firewall-cmd --zone=public --add-port=12386/tcp --permanent
sudo firewall-cmd --zone=public --add-port=12388/tcp --permanent
sudo firewall-cmd --permanent --zone=trusted --add-interface=docker0
sudo firewall-cmd --reload
DockerEE installation
Install DockerEE:
$ sudo dnf -y install docker-ee docker-ee-cli containerd.io
Add regular user into group docker to give management permissions:
$ sudo usermod -aG docker centos
Modify Docker’s Systemd Unit File:
$ sudo systemctl edit docker
Add the block below:
[Service]
ExecStart=
ExecStart=/usr/bin/dockerd -H fd:// -H unix://var/run/docker.sock -H tcp://127.0.0.1:2375
Reload, enable, and start the service:
$ sudo systemctl daemon-reload
$ sudo systemctl enable --now docker
Log out from the current session and log in again to be able to manage Docker without using sudo.
UCP installation
As both UCP and DTR use port 443 over the virtual machine’s IP address there will be a conflict if we leave it as is, so we will change this parameter now for UCP to 8443 and keep the standard 443 when we install DTR.
UCP is installed using Docker Image docker/ucp, note that we’re using parameter --controller-port to change the default port number to 8443. Parameter --host-address corresponds to the IP address of our DockerEE Server.
$ docker container run --rm -it --name ucp \
    -v /var/run/docker.sock:/var/run/docker.sock \
    docker/ucp install \
    --host-address 172.16.0.22 \
    --controller-port 8443 \
    --interactive
The installation process will ask for the administrative username and password, as it’s just for testing purposes, I used admin and P4ssW0rd.. credentials. It also asks for Subject Alternative Names or SANs, leaving this empty is OK.
Once installed, visit https://172.16.0.22:8443 and upload file docker_subscription.lic downloaded in the Preparation section of this post.
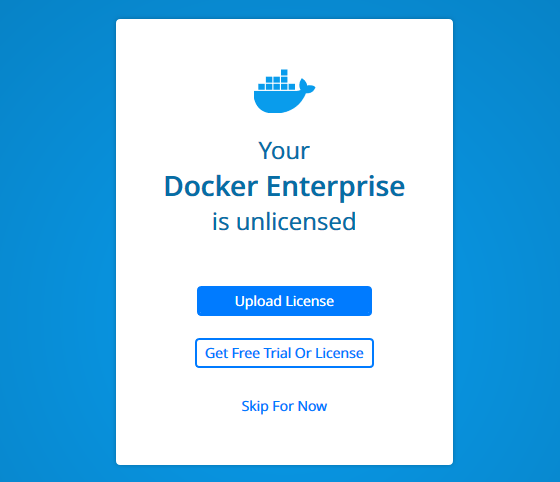
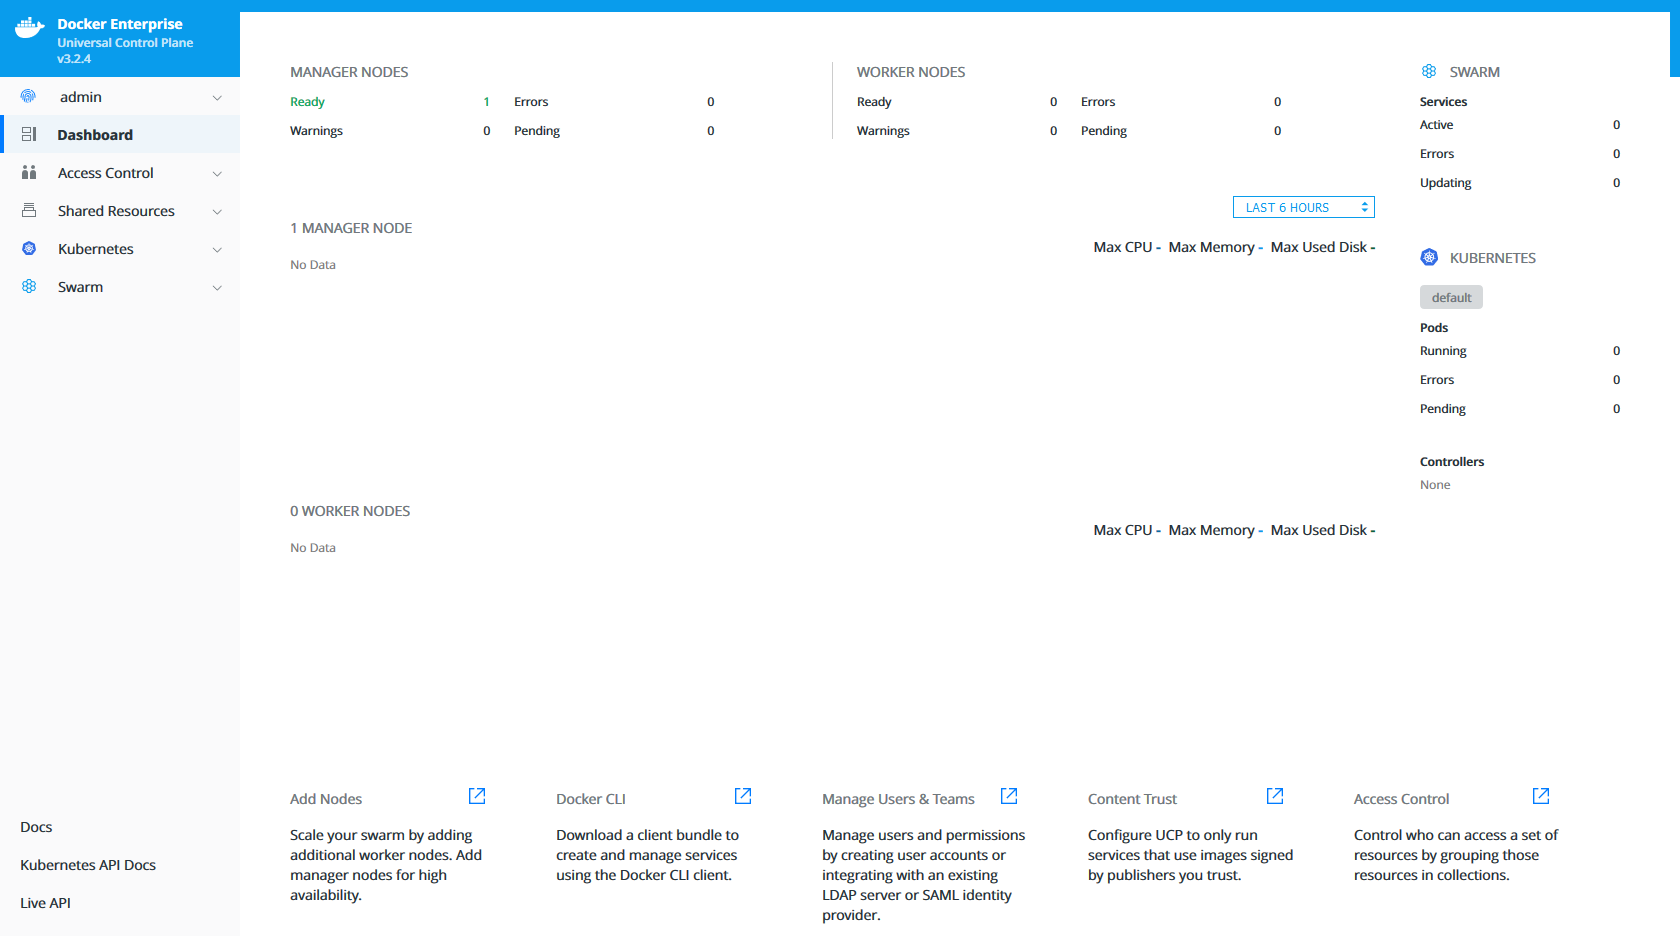
Once uploaded the license, you’ll see the dashboard of Docker UCP.
DTR installation
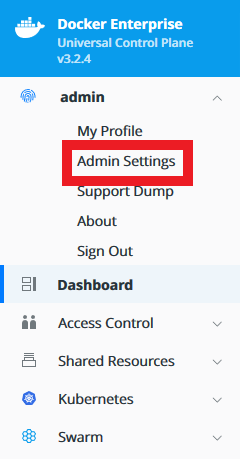
Now let’s navigate in the left menu to Admin > Settings
Select menu item Docker Trusted Registry, select UCP node dockeree and check option Disable TLS verification for UCP. Docker container creation command will appear in the bottom part of the page.
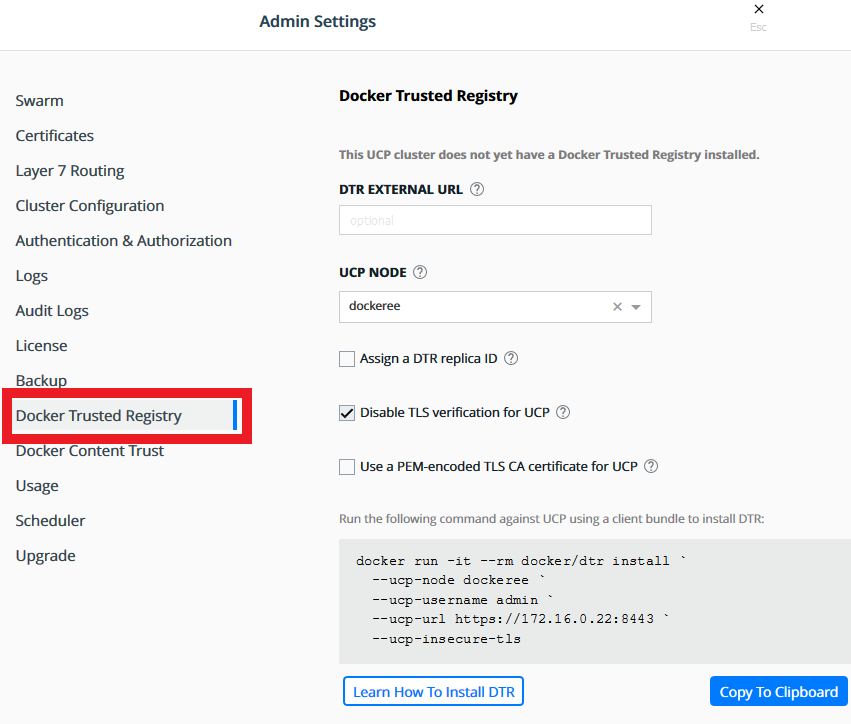
I wonder why it’s using the grave accent to split the command into many lines, may be valid into a Docker client bundle but I don’t want to use it only for installing DTR. So, substitute all the ` characters with \ and the installation command will be like the one below:
$ docker run -it --rm docker/dtr install \
  --ucp-node dockeree \
  --ucp-username admin \
  --ucp-url https://172.16.0.22:8443 \
  --ucp-insecure-tls
Copy this command and paste it into the same terminal you used for the previous part of the installation. It will ask for the UCP password and will install DTR.
Cleanup
Let’s clean unneeded packages, dnf databases, and cache packages:
$ sudo dnf -y autoremove
$ sudo dnf clean all
Next steps
You have a lot of features to start playing with. You can start running containers in both Docker Swarm and Kubernetes, it’s a piece of cake, so enjoy your new toys.